This is totally out of character for me. Really. I am not a girlie girl at all. I kind of feel like I need to pull up the pictures of me as a 4th grader, wearing camo pants and no shirt (because I was a total tomboy and felt like I should be able to run around half-naked) so I can prove my non-girlie nature here. I'm not really in to fashion and I rarely wear makeup, but the one girlie weakness I have is this: painting my fingernails each and every week.
When I was in college, I painted my nails all the time - sometimes every other day. I'd use wild colors, but paid no attention to application or care. They were generally a sloppy mess. Once I had kids, my nail-painting habit died off, and I didn't touch the stuff for years. Then I had an embroidery class in which a student carried on about her nail-painting ritual. Her blog was the first place I saw the painted nails trend, and a post she did on her weekly ritual of painting her nails got me completely hooked again. Initially, I was painting them only occasionally. Several months ago, though, I got hooked on a weekly routine of painting my nails every Thursday night while watching 30Rock, Big Bang and Project Runway.
My husband teased me about it at one point: "Why do you like doing that so much!?" I stopped for a minute and wondered the same thing. Why - as a non-fashion/beauty interested person - do I bother with painting my nails every week? Here's what I came up with:
- I love the colors. Sometimes it's as simple as that. For as much black as I wear, I am always drawn to the menagerie of colors available in the nail polish aisle. I have a basket full of colorful bottles, and digging through them is deeply satisfying to the color-hungry part of my soul. Seeing a nice color on my hands every day is - as silly as it sounds - a little pick-me-up.
- It's a simple form of self care. The whole moms-neglect-themselves is a cliche for a reason. It's hard to find much time or money to do a little something special for yourself, and my weekly manicures help in that regard. I'm taking time to take care of myself, feel "pretty" and indulge in something that's a bit impractical and makes me feel good. We all need more of that, right?
- I can't multitask while I'm doing it. Aside from watching tv, I really can't do much else while I'm painting my nails or waiting for them to dry. After I finish painting them, I sit down on the couch and just allow myself to watch tv for the rest of the evening. I don't do dishes, fold laundry or work on the computer. This is pretty much the only time in the week that I just sit still. That's a beautiful thing!
Enjoy the tutorial, and find some way - even if it's not painting your nails every week - to do a little something for yourself that allows you to not multitask while you do it, ok?
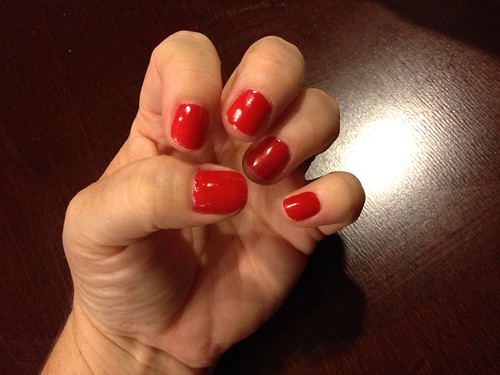
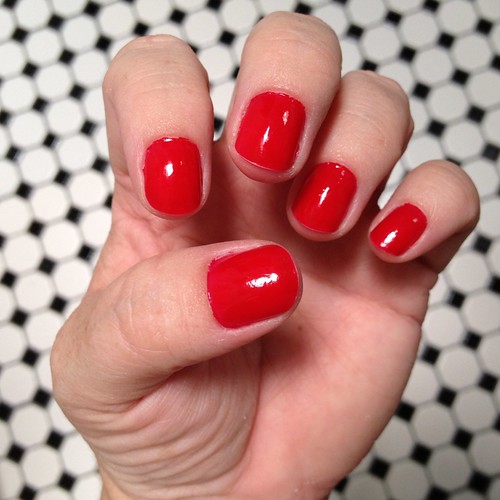
Here's a picture of my week-old manicure. On this particular week, I'd even cleaned out the garage over the weekend, and the polish still held up nicely. It's not perfect at this point, but for having been on my nails for a solid week, I'd say it's not to shabby, amiright?
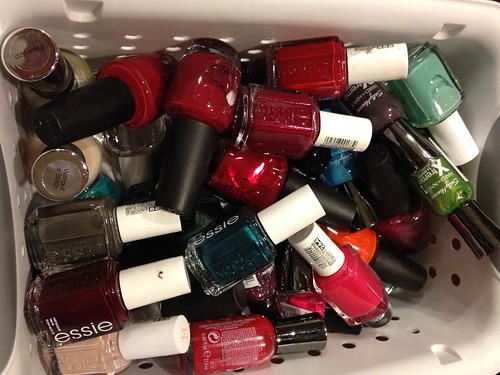
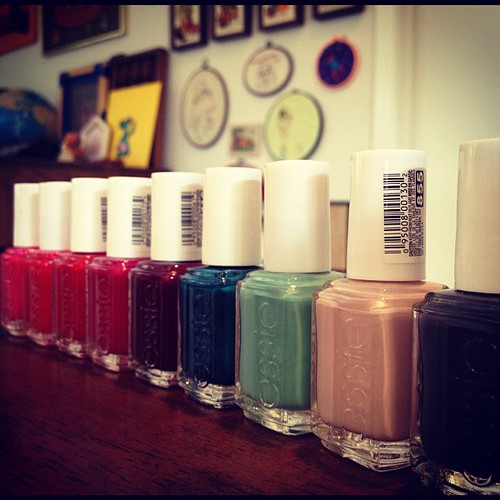
My collection of nail polishes is kind of embarrassing, but not as extensive as some I've seen on the internet ...
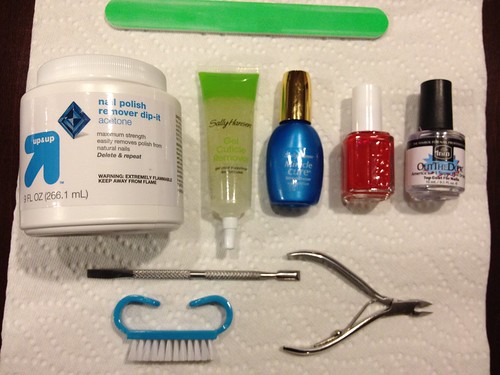
- A nice, fine nail file - I picked mine up at a beauty supply store
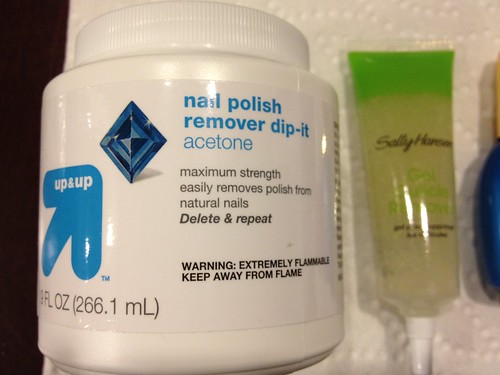
- Target Brand Remover Dip-It Acetone (more on this wonder product in just a second)
- Sally Hansen cuticle remover gel - I've used this one, as well as the SH instant cuticle remover. I like them both.
- Sally Hansen Miracle Cure - for the base coat. This stuff rocks.
- Nail polish in your preferred color (re: brand, I love Essie for colors & staying power. I also love OPI. My favorite inexpensive brand of nail polish is the Sally Hensen Xtreme Wear, which totally holds its own for a less-than-$3 polish)
- Out The Door top coat - this stuff is what seals the deal (literally) on a long-lasting manicure. I found it at Target for around $3, but have had trouble finding it there recently. I know you can get it at beauty supply stores, it might just be a little more expensive there. LOVE this stuff.
- A good cuticle stick - I like my metal one, as opposed to the wood ones. It came in a little manicure set from Target
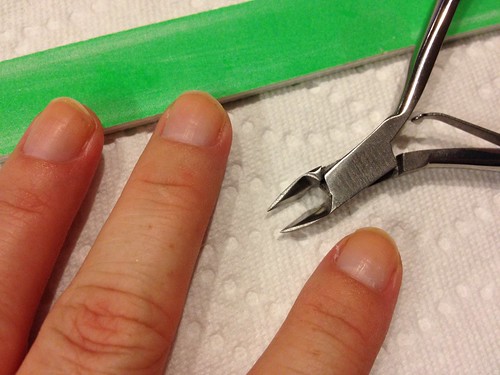
- Clippers - good for cleaning up gnarly bits around your nails
- Nail brush - It's freaky how handy this thing is. I hadn't used one before, but now adore it.
- Paper towels to protect your surface and use for quick cleanups
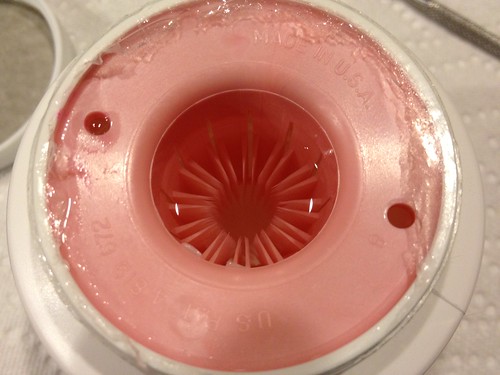
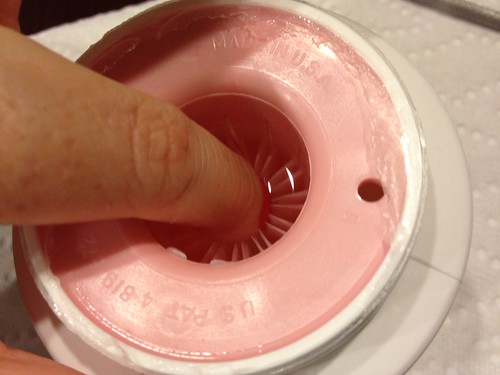
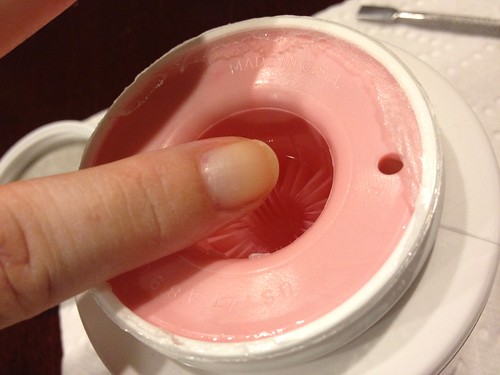
Remember that stuff from the 80s that was a dip-and-remove nail polish remover? It was like a sponge inside a container and you shoved your finger down in it and rubbed off the color? The color often did the same thing as it does with cotton pads: gets smeared all over your fingers. Because of my experience in the 80s, I was hesitant to try this dip-and-remove from Target. Instead of the old sponge interior, it's full of plastic bristles. Instead of smearing color everywhere, the polish comes off in just a few swipes and leaves your fingers perfectly clean. I nerd out on this stuff big time.
Sure, it looks like a Sarlacc from Star Wars, and yes - I snicker and make 12-year-old boy jokes every time I shove my finger in it - but it works wonders and I'm sticking with it for the long haul.
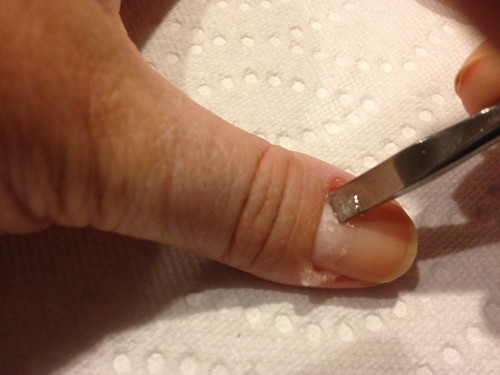
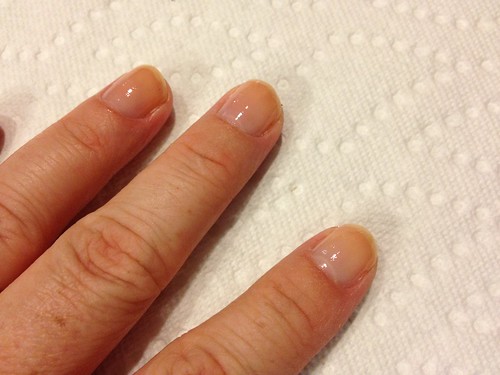
Use your cuticle stick to push back your cuticles.
At this point, I like to file my nails. I couldn't get a picture of this part, but it's pretty basic. Just gently shape your nails with the file. I've seen tips about filing only in one direction, but honestly couldn't get that down. Just don't go nuts and don't use too coarse of a file and you should be fine.
Once your cuticles are all pushed back and nails are filed, it's time to hit the sink. Again, I couldn't get a picture of this, but what I usually do is squirt liquid soap in to the palm of my hand and then dip the finger nail brush into it and scrub my nails pretty vigorously under the water. This removes the gel and the residual acetone (that can dry out your skin) and cleans up under your nails from filing. Dry your hands well after washing. You can then use your clippers to clean up any gnarly bits that are left around your nails.
Paint a nice, thin coat of your base coat on to your nails and let dry. Usually, by the time I finish my second hand, the first hand is dry enough to dive right in to the color coats.
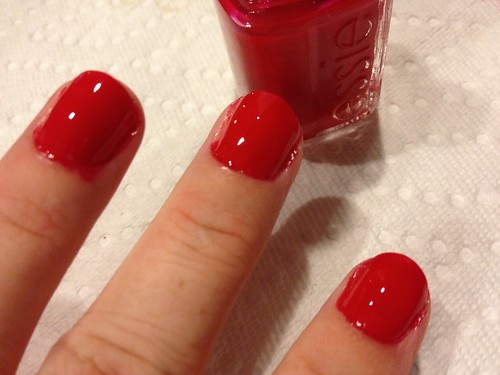
Now it's time for color. I don't really have any tips for applying color other than be patient and paint thin coats. Globbing the color on doesn't do anyone any favors. Paint one thin coat, wait just a couple of minutes and then go back and paint a second coat. Wait a few minutes and then paint on your top coat, generously, over the whole shebang.
"But wait!" you say. "Your nails are a total mess!" Yep. And that's just fine. The other advantage to painting my nails at night is that I don't have to worry with cleaning up the edges. The next morning, when I shower, the excess polish comes right off. Usually just the process of shampooing and cleaning is enough to knock most of it off, but sometimes I have to use my fingernails in the shower to scrape off the last remaining bits. It's easy and my fingernails look dandy when I'm done.
And there you have it! That's what I do each and every week for my home manicure. I find that keeping my nails short helps keep them from chipping as much, and the biggest change in how they look during the week is from growth at the base. Otherwise, they look perfectly respectable, I'd say. Have fun and enjoy painting!
*Disclaimer: Your manicure might not last all week. Depending on your level of activity and type of polish, you might have some chips. I'm not saying that your manicure will look exactly the same as it did when you completed it, but it should look totally acceptable if you're using these products and methods and aren't a lumberjack who doesn't wear gloves.


