
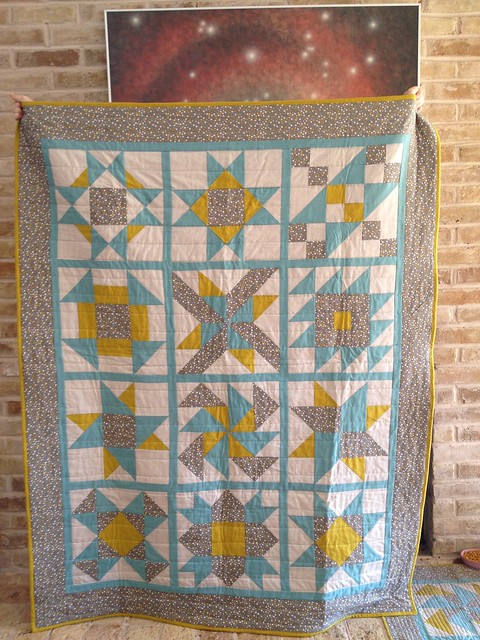
Last fall, I took my first quilt class. I was terrified and not sure how I'd do, but I was also excited to try something new. And though I started out shaky, within a few weeks I got my quilting legs and took off and fell madly in love with this medium. Since then, I've complete another quilt top, taught at QuiltCon and am diving into my third quilt this week. Before I fill you in on all those things, here's a look at my first quilt process and some of the things I learned.
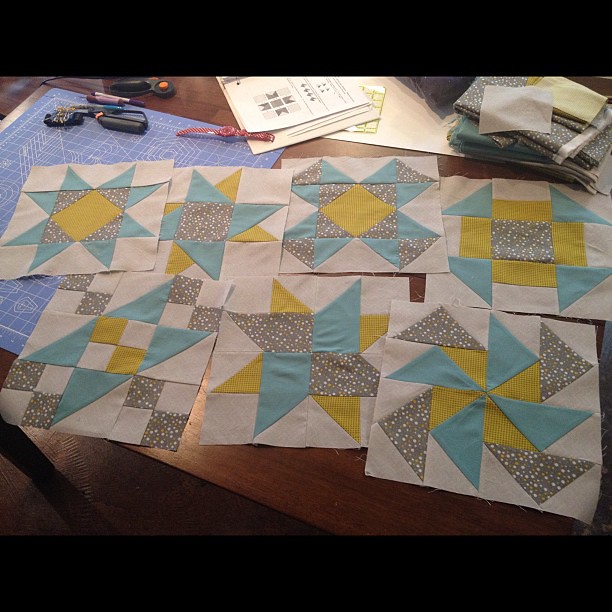
Taking a quilt class made a huge difference. I have a hefty stack of quilting books that I love, but taking a class really helped me understand how quilts come together, and made the books make more sense. Having a person who can answer questions and share their personal tips was infinitely helpful. Now I can tackle quilts I see in books with confidence. It was also fun to watch a group of students take identical patterns and create such incredibly different quilts. I loved it.
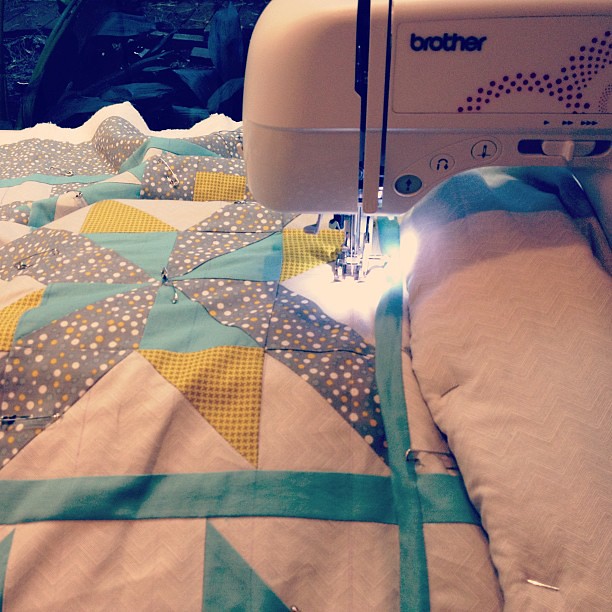
It pays to press. My sewing guru, Leslie, always said, "It pays to pin!" in our sewing classes, and she's right. The same saying can go for pressing when it comes to quilting. I won't iron clothes to save my life, but give me seams to press and I'm all over it.
Mistakes are no big deal. I don't have a picture of it, but once I pulled my quilt out of the dryer, I was fondling it with glee (get yer mind out of the gutter!). My hand came across a seam in the middle of a block that had come completely out. At first, I was horrified, but then I thought it'd be a perfect place for a little embroidery. Maybe even a stitched "oops." No biggie.

Seeing your kid snuggled up under a quilt you made while they watch tv is pretty freaking awesome. After all the time and energy (sweat and tears, of course) I put in to this quilt, the happiest I was came when my son grabbed it off a chair and curled up underneath it. So in love.
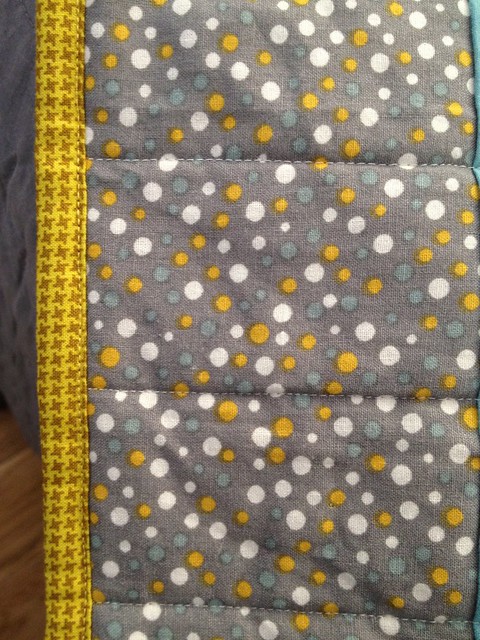
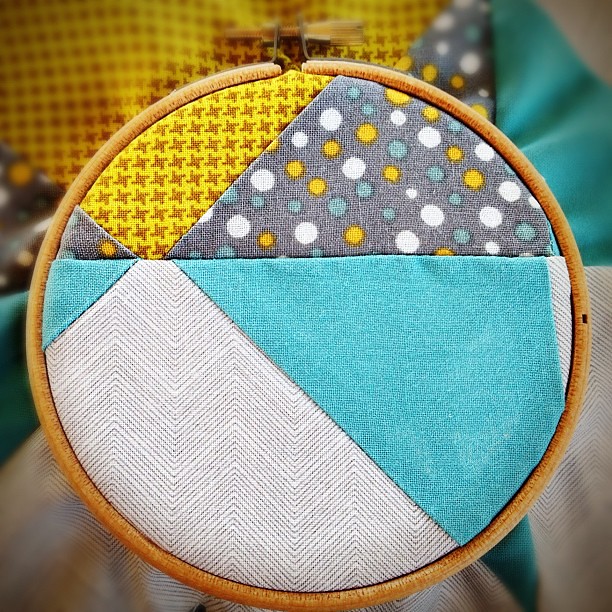
Keeping it simple made it doable. The quilt blocks themselves were pretty involved, so I went super simple with the quilting (an aesthetic I prefer anyway) and kept the binding simple by just doing it all by machine. I thought this might be a "cheater" method of binding, but it turns out some of my very favorite quilters use this method exclusively. It felt great to finally tackle making my own binding and being able to attach it in one run through the machine satisfied my need to git 'er done. I kept Susan Beal's Modern Log Cabin Quilting book right next to me during the entire binding process. Her instructions were so easy to follow, and eased all my binding fears.
I'm so glad that I fell in to quilting right now. It's been a great way to rejuvenate me, challenge me, and introduce me to a whole other community that is vibrant and supportive. I'm looking forward to quilts number three ... four ... five ... one hundred ....
Thursday, April 25, 2013
Lessons learned from making my first quilt
Tuesday, October 2, 2012
"Show Me a Story" Winner!

Thanks to all who commented for a chance to win a copy of Emily K. Neubuger's Show Me a Story. I truly love this book, and even if you didn't win, I encourage you to grab a copy for yourself or follow her blog tour for another chance to win a copy.
Congrats to Arielle Clementine who said, "i am planning on homeschooling my kids, and feel like this book would be a wonderful way to get them interested in storytelling!"
I'll be in touch, Arielle, to get your copy of Show Me a Story headed to your home.
Stay tuned for updates on my quilt class and my first-ever quilt block. Spoiler: I didn't die from fear over making it.
Thursday, September 27, 2012
Introducing "Show Me a Story" by Emily K Neuburger
 |
One of my favorite things about the time I spent at CRAFT was finding and following so many immensely creative folks through their blogs. I love stumbling on new blogs, keeping up with them, and watching them grow over the years, and it's even more exciting to see them make the jump from blog publishing to book publishing.
 |
| Emily with her daughters, Hazel and Leah, telling stories using the Traveling Puppet Theater project from Show Me a Story |
 |
| The Story Disks project is simple and cute, and will end up providing hours of creative play for kids. |
 |
| The Storytelling Jar is an adorable project that would look cute on a desk or shelf, and can then be pulled down to use for story telling whenever the mood strikes. |
 |
| Emily's thoughtful and thorough explanations of the mechanics of stories, and her rich prompts help readers jump right in to the story-telling process. |

If all this resonates with you, you're in luck! I have one copy of Show me a Story to offer for giveaway to an Average Jane Crafter reader. Just leave a comment on this post, telling me how you would use this book with the kiddos in your life, and I'll draw a winner at random on Monday. You have until 9PM CST on Sunday, September 29 to leave your comment. Sorry, contest is open to U.S. residents only.
 |
| Hey, wait a minute ... I recognize that name under the quote up there ... |
Tuesday, September 25, 2012
Being OK with Being Terrified
 |
| Cutting precise straight lines scares the heck out of me, y'all. |
Last week, I started my first quilting class. I've been meaning to try my hand at quilting for a while, but the right moment hadn't hit me yet. After being invited to teach a hand embroidery workshop at QuiltCon, I decided this was the perfect time. This fall would be the time I finally learn how to make a quilt.
 |
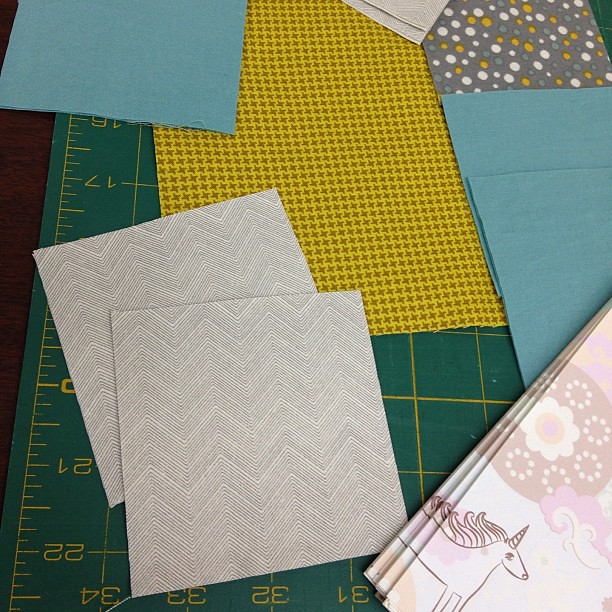
| My initial fabric selection - I thought we needed five fabrics, but it turns out we only needed four. I had to change this grouping up a bit. |
Even as enjoyable as shopping for fabric is, though, an unanticipated feeling emerged as I picked up, swapped out and debated different fabrics: terror.
 |
| The reworked fabrics for the quilt. I actually like this grouping better! |
 |
| I nerded out and used my light box to make a copy of the quilt pattern so I could color it in with different colorways and decide which fabrics I wanted to use in which ways. Don't laugh - it's super handy! |
 |
| I made photocopies of the tracing and then colored them in, swapping my light and dark grey fabrics. I'm a super visual gal, so this helped me get a better idea of how swapping the fabric placement would affect the overall look of the quilt. See? Handy! |
What has terrified you lately?
* Ironically, I'm the youngest person in the class, but I have the most basic, simple sewing machine in the group. Most of the others have super fancy computerized machines with special settings and presser feet that make precise quarter inch seams a snap. My machine ... notsomuch. But I keep thinking, "come on! Pioneers had flippin' FOOT POWERED machines!" and then I feel better.
Tuesday, September 11, 2012
Give it up for new beginnings, y'all!
Oh, my dear, sweet little neglected blog. I've missed you.
There has been a lot of change around these parts over the last nine months or so, and that's contributed to my lack of posting. Fortunately, I'm getting back on track, and really looking forward to getting nice and comfy back over here.
 |
 |
| One of my project tutorials for Whimseybox |

I'm also excited to announce that I'll be teaching at the first ever QuiltCon in Austin next February. I'll be teaching basic hand embroidery in the context of studying redwork in modern quilting. I can't believe I'm part of this incredible event. I mean, hi ... Anna Maria Horner, one of my all-time biggest design inspirations and first fabric designer crush, is teaching in the same room I am right after my class ends. Who wants to place bets on me passing out? If you are interested in the class or QuiltCon, be sure to check it out and sign up soon. As of a few days ago, there were less than three spots left in my workshop. The QuiltCon folks have been amazing and so professional. This is going to be a top-notch event. I can't wait!
Speaking of quilting, I'm starting my first quilting class next week. Yep. I've never made a quilt (well, not an official quilt - I've "quilted" a few small things for fun/practice, but I've never done a whole quilt start-to-finish before). Even though my workshop at QuiltCon isn't so much about quilting (it's a basic hand embroidery class) I didn't feel I could stand up as a teacher there, having never made a quilt. I've read Susan Beal's Modern Log Cabin Quilting book cover-to-cover, and am ready to get some real-life action going in the quilt department. Look for updates over the coming weeks as my class progresses!
I've got some great books and craft goodies to share with you, as well as some fun project tutorials, soon. Thanks for sticking with me - even with my sporadic posting. This fall marks the 5th anniversary of Average Jane Crafter, and I'm so glad to still be crafting and sharing things with you!
Wednesday, May 23, 2012
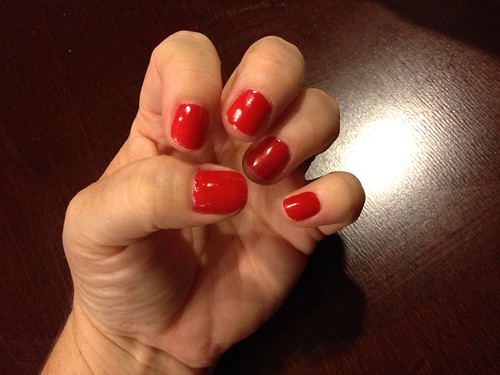
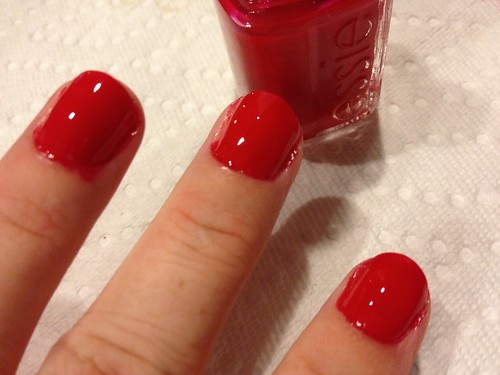
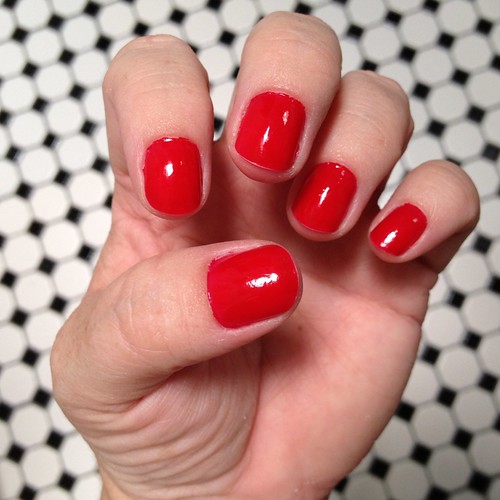
My Secrets For the Week-Long Manicure


- I love the colors. Sometimes it's as simple as that. For as much black as I wear, I am always drawn to the menagerie of colors available in the nail polish aisle. I have a basket full of colorful bottles, and digging through them is deeply satisfying to the color-hungry part of my soul. Seeing a nice color on my hands every day is - as silly as it sounds - a little pick-me-up.
- It's a simple form of self care. The whole moms-neglect-themselves is a cliche for a reason. It's hard to find much time or money to do a little something special for yourself, and my weekly manicures help in that regard. I'm taking time to take care of myself, feel "pretty" and indulge in something that's a bit impractical and makes me feel good. We all need more of that, right?
- I can't multitask while I'm doing it. Aside from watching tv, I really can't do much else while I'm painting my nails or waiting for them to dry. After I finish painting them, I sit down on the couch and just allow myself to watch tv for the rest of the evening. I don't do dishes, fold laundry or work on the computer. This is pretty much the only time in the week that I just sit still. That's a beautiful thing!
Enjoy the tutorial, and find some way - even if it's not painting your nails every week - to do a little something for yourself that allows you to not multitask while you do it, ok?
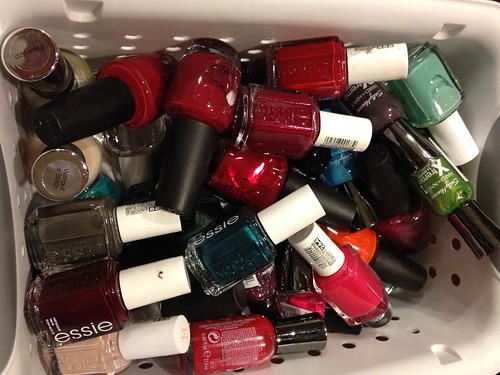
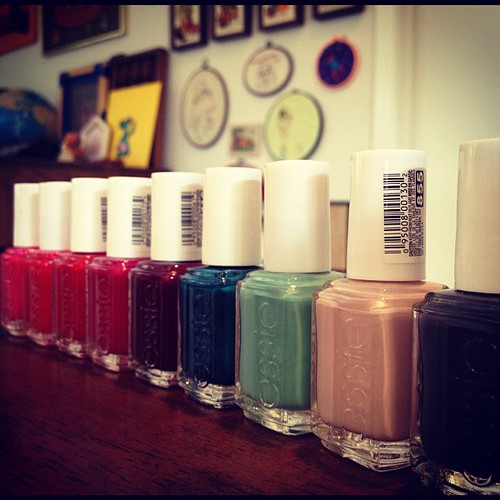
My collection of nail polishes is kind of embarrassing, but not as extensive as some I've seen on the internet ...
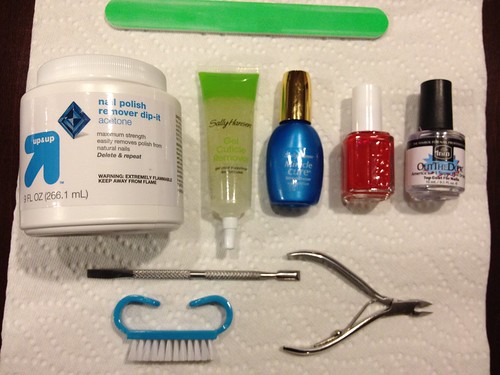
- A nice, fine nail file - I picked mine up at a beauty supply store
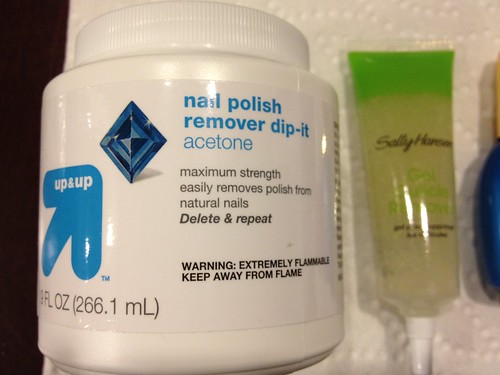
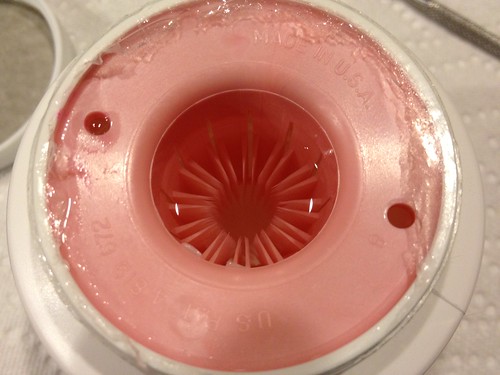
- Target Brand Remover Dip-It Acetone (more on this wonder product in just a second)
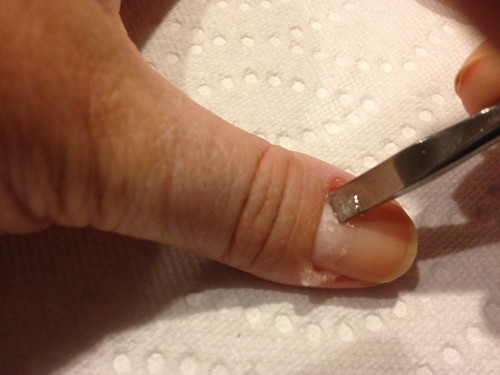
- Sally Hansen cuticle remover gel - I've used this one, as well as the SH instant cuticle remover. I like them both.
- Sally Hansen Miracle Cure - for the base coat. This stuff rocks.
- Nail polish in your preferred color (re: brand, I love Essie for colors & staying power. I also love OPI. My favorite inexpensive brand of nail polish is the Sally Hensen Xtreme Wear, which totally holds its own for a less-than-$3 polish)
- Out The Door top coat - this stuff is what seals the deal (literally) on a long-lasting manicure. I found it at Target for around $3, but have had trouble finding it there recently. I know you can get it at beauty supply stores, it might just be a little more expensive there. LOVE this stuff.
- A good cuticle stick - I like my metal one, as opposed to the wood ones. It came in a little manicure set from Target
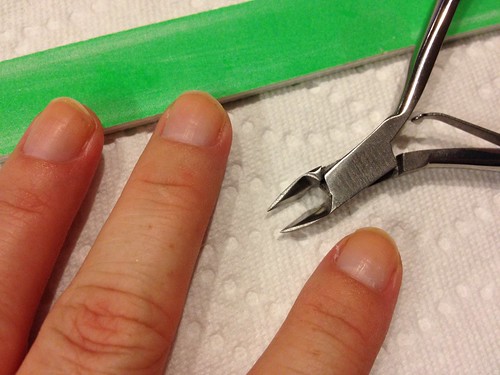
- Clippers - good for cleaning up gnarly bits around your nails
- Nail brush - It's freaky how handy this thing is. I hadn't used one before, but now adore it.
- Paper towels to protect your surface and use for quick cleanups


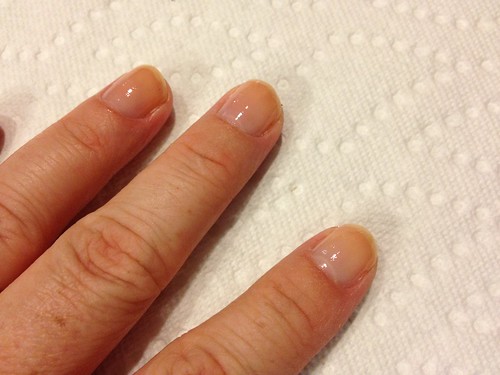
At this point, I like to file my nails. I couldn't get a picture of this part, but it's pretty basic. Just gently shape your nails with the file. I've seen tips about filing only in one direction, but honestly couldn't get that down. Just don't go nuts and don't use too coarse of a file and you should be fine.
Once your cuticles are all pushed back and nails are filed, it's time to hit the sink. Again, I couldn't get a picture of this, but what I usually do is squirt liquid soap in to the palm of my hand and then dip the finger nail brush into it and scrub my nails pretty vigorously under the water. This removes the gel and the residual acetone (that can dry out your skin) and cleans up under your nails from filing. Dry your hands well after washing. You can then use your clippers to clean up any gnarly bits that are left around your nails.
Thursday, May 3, 2012
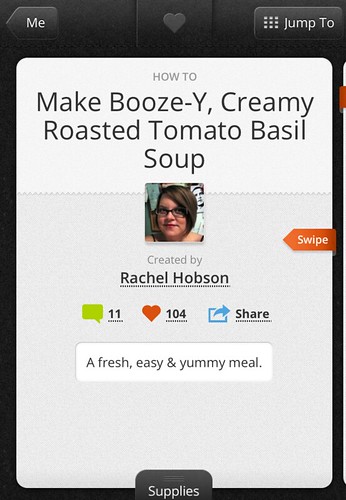
Recipe: Booze-y, Creamy Roasted Tomato Basil Soup, and playing with Snapguide


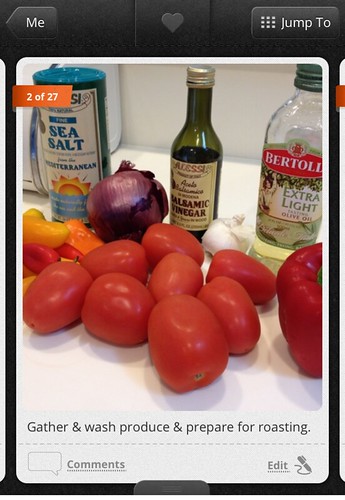
Ingredients:
(please note, the ingredients and measurements are general here. It varies depending on how much you can fit in your baking dish and what you have on hand. Go flexible, folks!)
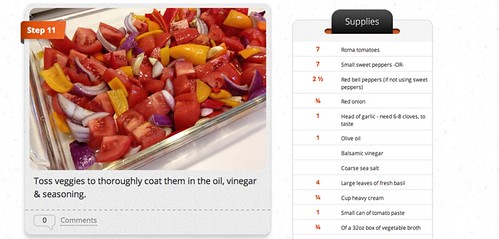
7-8 Roma tomatoes
7-8 small sweet peppers -OR- 2 1/2 red bell peppers
3/4 red onion
1 head of garlic - you'll need 6-8 cloves, depending on how much you like garlic
Olive oil
Balsamic Vinegar
Coarse Sea Salt
Pepper
4 large leaves of fresh basil
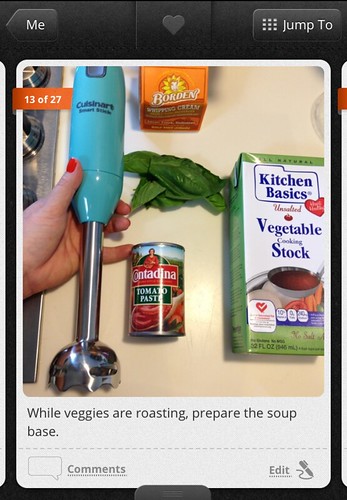
1/4 cup heavy cream
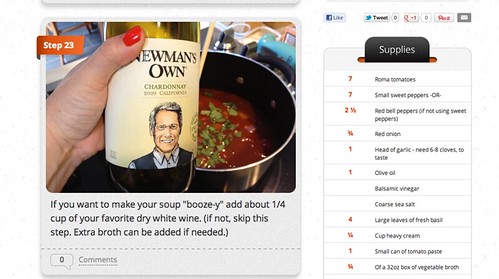
1/4 cup dry white wine of your choice
1 small can of tomato paste
3/4 of a 32oz box of vegetable broth
Immersion blender (if you don't have one of these, I highly recommend grabbing one from Amazon or Zappos. If you can't, be sure to read about blending hot soups in a standard blender)
Now go fetch the tutorial on Snapguide and let me know what you think!
Subscribe to:
Comments
(
Atom
)