Friday, October 28, 2011
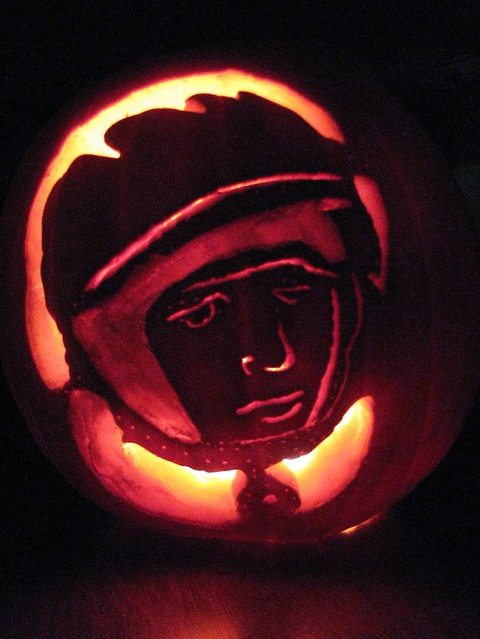
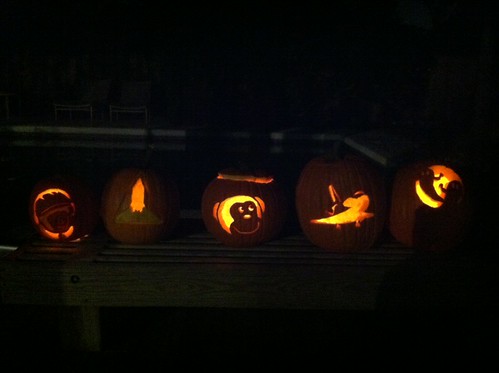
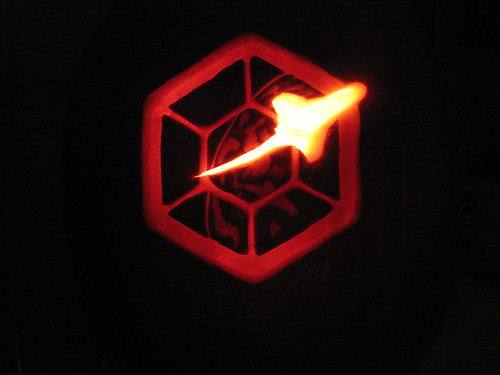
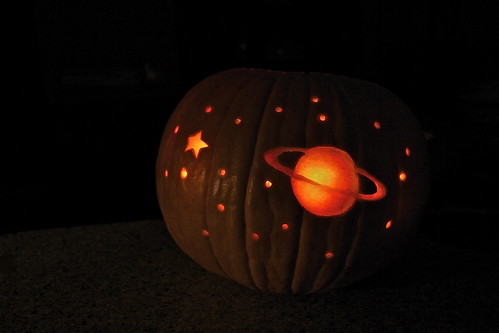
Today is the First Ever World Wide Space-O-Lantern Carving Day!
Monday, October 24, 2011
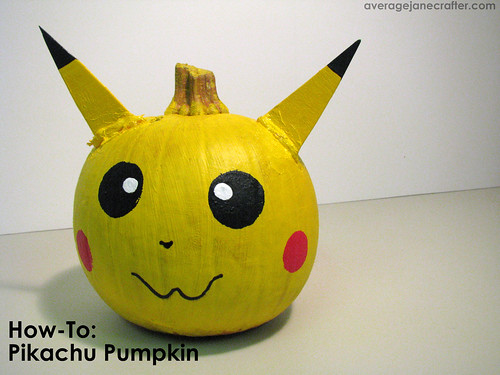
How-To: Make a Pikachu Pumpkin
Last week, my son had a school assignment to decorate a pumpkin as his favorite character from a book. Of course, the book he picked was a Pokemon one, and the character he chose was Pikachu. Despite both of my kids having been Pokemon fanatics for a couple of years now, I still haven't quite gotten all the lingo, characters and story lines sorted out, but I do think this yellow "electric type" is a cutie and was excited to see him transformed into a pumpkin.
My son was adamant that he had to do "ALL THE WORK," and for the most part he did. Shortly after starting, we both realized that Pikachu was turning out to be pretty awesome so we decided we'd share the process here with you. It's pretty straightforward, but hopefully you'll see how easy it is to transform a pumpkin into a Pikachu and will want to jump in before Halloween.
We used a small round pumpkin, and since the kids weren't allowed to carve the designs (gooey pumpkin guts on the display in the library would be ... not so awesome) we knew paint was the perfect medium.
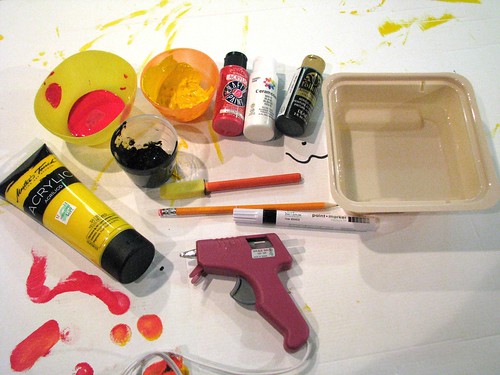
- 1 small round pumpkin
- Acrylic paint in bright yellow, red, white and black
- 1 fine line black paint pen (a Sharpie might work as well, but we happened to have a paint pen on hand)
- Assorted sponge brushes (I found an assorted pack of brushes at Hobby Lobby for around $5-6. It included many sizes of rectangular brushes, as well as some round brushes that were perfect for making Pikachu's eyes and cheeks)
- A pencil with a new, unused eraser
- Cardstock or Mat Board
- Hot Glue Gun
- Assorted small plastic bowls (recycled applesauce containers are great!)
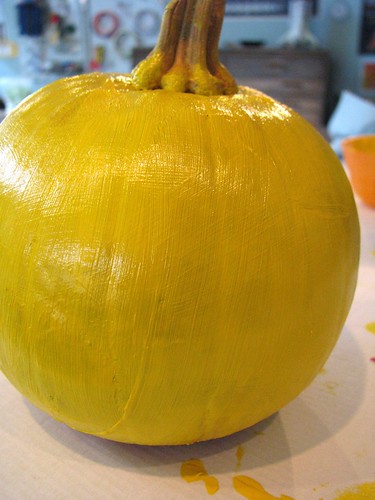
It took two or three layers of the yellow acrylic paint to really coat the pumpkin. We set up on a scrap piece of cardboard and let my son paint away. He played while each layer was drying & it didn't seem to take to long between coats.
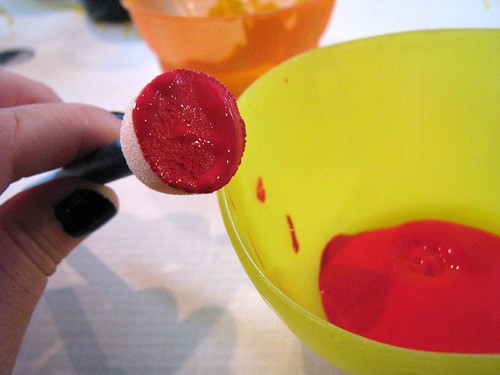
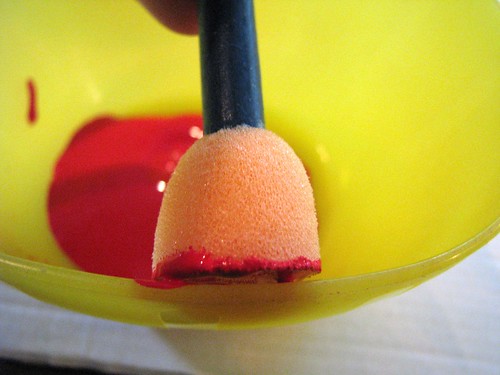
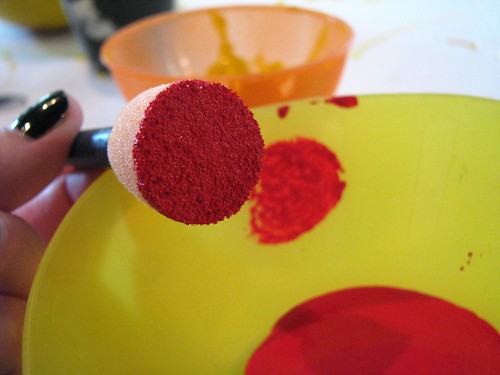
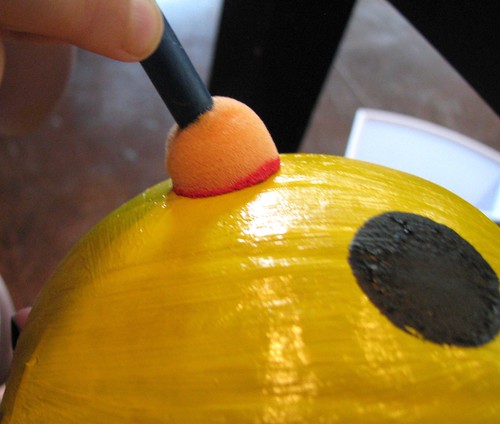
For the eyes and cheeks, we used the round sponge brushes. Put a small amount of paint into one of the small plastic bowls. Dip the brush in the bowl, then dab it against the side of the bowl to remove the excess paint and give it a light, even coating.
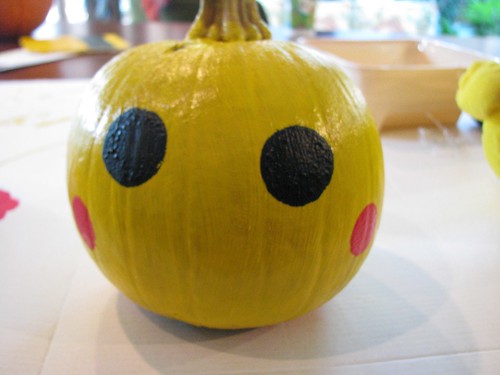
Press the sponge brush straight down on the pumpkin and gently rock it around to make sure the entire circumference of the circle gets painted. We practiced a couple of times on the cardboard to get the motion down. My son quickly picked it up and was stoked to see the perfect circles he was able to create with the circle sponge brush.
Place the eyes toward the center of the pumpkin, and the red cheeks just below and to the right and left of the eyes.
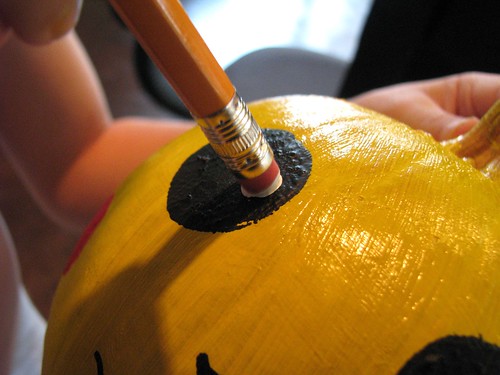
For the white portion of the eyes, use your new, unused pencil eraser and dab it in white acrylic paint. Use the same straight-down-rock-straight-up method to apply the white portion of Pikachu's eyes. Check pictures for placement (or, as we did, use a Pikachu stuffed animal as your reference)
I helped my son with the nose and mouth, because the lines are so fine. Matching the lines in your reference drawing (or stuffed animal) draw the small nose and wavy mouth.
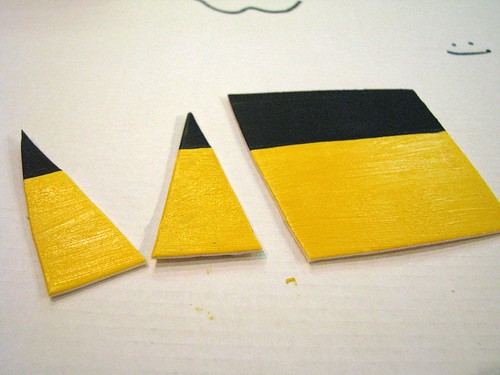
For the ears, paint a layer of yellow acrylic paint on mat board or heavy cardstock. Then paint a stripe of black across the top. Cut the elongated triangle shapes out to create the ears.
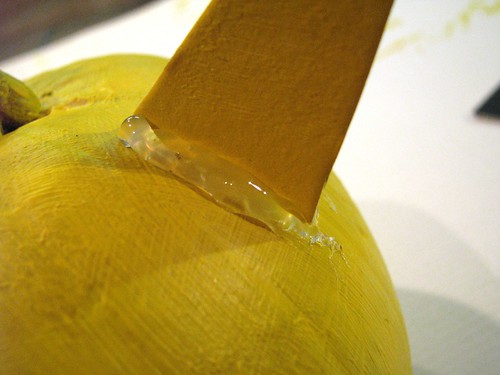
To attach the ears, hold them in place and surround each one with hot glue (this was the other time I helped my son so he wouldn't burn his fingers) Hold the ear in place while the glue dries enough to set up and support the ears. Once the glue is completely dry, paint the glue with the yellow acrylic paint to help it blend in to the pumpkin. Voila! Pikachu Pumpkin!
My son was so excited to take his Pikachu Pumpkin with him to school this morning. We kept joking that he needed to carry it on his shoulder. And even though I'm not a diehard Poke-Parent, I could still deeply appreciate his enjoyment of turning a plain pumpkin into an awesome Pikachu.
Posted by
Average Jane Crafter
at
11:05 PM
2
comments
Labels: Crafting with kids , Halloween , pokemon , pumpkins
Tuesday, October 20, 2009
Way-Oh-Way-Ohhhhhhhhh

I feel very lucky to be included in a group of Halloween stories over on Dude Craft this week. Paul invited a handful of folks to share their childhood Halloween memories, and seeing as how Halloween is one of my very favorite holidays, I could not pass up the opportunity.
So why is my picture* all fuzzed out above? Well, if you want to see pure vintage Average Jane Crafter in a classic 1980s Halloween costume inspired by a certain song from The Bangles, you'll have to click on over to Dude Craft for the big prize.
Be sure to add Dude Craft to your regular blog rotation. He's a prolific poster with a knack for finding fantastic goodies on the web, and for writing well-said, thought-provoking posts. Very good stuff. Enjoy! And thank you again, Paul, for including me! :)
*Thank you, mom, for making the costume, letting me make the "serious" face when you took the picture, and for finding the picture among the dozens of family photo albums so I could share it with Paul!
Friday, October 31, 2008
Before you eat your Halloween candy ....
Posted by
Average Jane Crafter
at
9:24 AM
9
comments
Labels: embroidery , Halloween , little bit twisted
Monday, October 29, 2007
Crafts from the Past: Or why I don't make costumes for my daughter
OK, correction, I did actually make my daughter's costume this year, but it was a simple one. I have, however, resigned from making any remotely complicated costumes for my daughter ... ever since the Lady Train disaster of '04.
At that point in AK's life, she was obsessed with Thomas the Tank Engine, and was watching Thomas and the Magic Railroad on a daily basis (a horrifying viewing experience, except for the strangely charming performance by Alec Baldwin). She adored Lady Train - the magic "girl" train that appears and somehow produces gold shavings behind her when she treks down the track (and that's one of the least weird things about the movie).
So it was decided, or really -announced-, that AK would be Lady Train for Halloween that year. I thought this would be a great chance to get crafty and come up with some kind of cool costume for her. I pieced together boxes, paper plates and paint stirrers, coated everything with loads of spray paint and topped it off with gold glitter accents. I figured out how to fashion some elastic straps so she could wear the contraption, and finally presented it to her - sure that she'd gleefully respond and request to wear it non-stop on through 'till Christmas.
You can guess how things went instead. She thought it was fine, tried it on for a second, and then - when it came time for the big Halloween party - she wore it all of five minutes. She refused to put it back on, and it was tossed aside. It lived out in the garage for a few months while I waited for her to suddenly decide it was "cool" and that she had to wear it.
That never happened.
Since then, I've been reluctant to even toy with the idea of making a costume for either kid. I did pull one together for AK this year - but it was easy. Black Beauty requires just a leotard and tights, some fake fur tacked on as a tail, and some felt ears and a mane tacked on to a headband. Not much to mess up there.
So for now, my costume-making abilities are spent on other people's kids, where I don't have to really worry if they wear them or not.
Posted by
Average Jane Crafter
at
9:08 PM
0
comments
Labels: costumes , Crafts from the Past , Halloween
Saturday, October 27, 2007
Last-Minute Costume Creation
You know that friend of yours who waited a little longer to start having kids than you did? And you just kept hoping they'd have a kid so you could be parents together and do fun kid things with them? And then they did have a kid, and you were overly excited that you finally got to share parent/kid stuff with them?
That's how it was with one of my best, longest-known friends, Lara. We met in the bathroom of Crockett Elementary School in 1982, and have been pals ever since. We went to camp together, hung out in high school theater together, and were in each other's weddings. So when she finally jumped in to motherhood (5 years after I'd taken the plunge) I could not wait to start sharing fun parenting experiences with her.
I had the chance to do something really fun for her last week. Her daughter, O, was needing a Halloween costume, and Lara asked if I had any ideas on putting together a chocolate chip cookie outfit. The crafty wheels started turning, and this is what we came up with one afternoon. We were able to complete it in one nap session - it's amazing how fast you can work when the kids are sleeping.
I've created a mini visual tutorial through Flickr - all you need is some felt, a tiny bit 'o poly fill, and you're on your way to a yummy costume.
Tuesday, October 16, 2007
Stitching the Undead
I've been uber busy with web stuff and starting my new job (um, hi ... it ROCKS) - so something has had to fall behind. You'd think the crafting would, right? Nah. In my line of priorities, crafting comes in waaaaay above things like laundry, house cleaning and exercising (all much to my husband's dismay. eh) I actually have some gifts and things I'd like to make for the holidays, but - no - again I chose what should technically be a lower priority thing to do: stitching for the Feeling Stitchy October challenge. Not that it's not important or fun, but when you've got heaps of responsibilities, it probably shouldn't dominate them, right?
TheHellToTheFreakingToTheNo.
I almost didn't participate, because I knew things were going to be hectic this month, but when an idea hit me as I was falling asleep the other night, I knew there was no stopping it. I had been wondering what I would stitch, because even though I love Halloween, I don't love "typical" Halloween stuff (pumpkins and whatnot) and was trying to think of something more fun and ... gory.
And then it came to me.
I'm a big fan of Floresita - I love her amazing embroidery and her incredible generosity to scan, clean up and post vintage transfers for folks to use. One of those transfers struck me when she posted it ... and not in a good way. The Workbasket Jitterbug Girl always seemed a little creepy to me. Something about her face ... that smile ... those somewhat vacant eyes. On the surface, she seemed like a clean-cut, wholesome gal, but I saw her true identity underneath those carefully placed dimples.
And so she became ... Zombie Jitterbug Girl.
I must confess that my stitching on this project is sub-par. I had to zip through it in just a couple of evenings (thank goodness for DVRd My Life on the D-List marathon). I took a lot of shortcuts, and the back is a MESS! (grandma would be horrified!) But she's fun, and it's strangely satisfying to stitch something just a tad gruesome. Completing her has helped finally get me in a Halloween mood. The hot weather around here has been pissing me off and keeping me from getting into the spirit of things. Nothing like a severed head to remedy that!
Posted by
Average Jane Crafter
at
10:33 PM
16
comments
Labels: Feeling Stitchy , Floresita , Halloween